How to setup Route53, CloudFront, S3 bucket for Static Website hosted on S3
 Rez Moss
2 min read
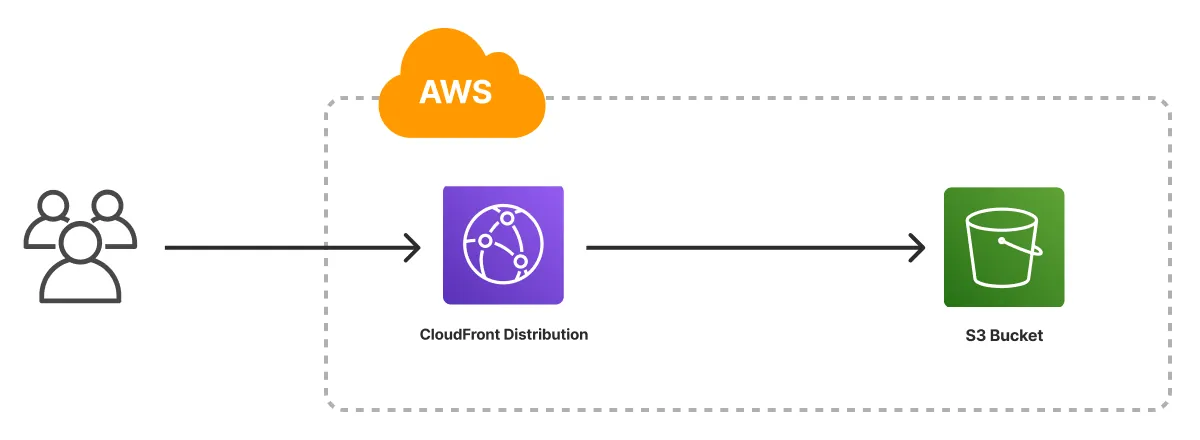
1- Create your S3 bucket and upload your website content. The article linked below has more detail. Name the bucket after your domain:
Replace domain.com with your domain name.
Permissions for static website on S3 bucket.
2- Create a CloudFront distribution with the S3 bucket above as its origin. After it deploys, check that your website loads from the CloudFront URL, which looks like this:
fsdafsdf43f3f3f3.cloudfront.net
3- Create a certificate for your domain in ACM and choose DNS validation. For the domain names, enter:
domain.com *.domain.com
4- Go to your Route53 zone and add a CNAME record for www with your CloudFront URL (e.g. fsdafsdf43f3f3f3.cloudfront.net) as the value.
5- Edit your CloudFront distribution and add your domain name:
Then select the SSL certificate you created in ACM.
6- Create a second S3 bucket with the same configuration as step 1, but name it domain.com (without www).
7- Open the “static website hosting” configuration on the bucket from step 6 and click edit.
Select “Redirect requests for an object” and in “Host name” add your full domain like “www.domain.com” and in “Protocol - Optional” select none, then save.
8- Open the bucket’s static website link. It should redirect you to the www version of your site.
9- In CloudFront, create a new distribution with the bucket from step 6 as its origin. Check that the new CloudFront URL works.
10- In Route53, add an A record with no name, select Alias, choose “Alias to Cloudfront distribution”, then select the region and paste the CloudFront URL from step 9.
11- Edit the CloudFront distribution from step 9, add your domain without www (domain.com), select the SSL certificate, and save.
12- Your static website is now live on both domain.com and www.domain.com.